Showing posts with label 52 Week Organizing Challenge. Show all posts

Friday, May 13, 2011

52 Weeks of Organizing #19

This last week I tackled Ellie's closet. It was definitely time to go through everything again and put away things that are too small. It was such a disaster. I ended up putting her pants and t-shirts in her change table drawer, which had room, instead of in the closet. Her dresses and sweaters are in the closet, along with her clothes that are the next size up.

Before:


After:


*Linking up to 52 Weeks of Organizing*

Friday, May 6, 2011

52 Weeks of Organizing # 18


Hall Closet (Cleaning Closet & Seasonal Jackets Closet)
Once again, I'm kicking myself for not taking a before picture. You'll just have to believe me that this after picture is a huge improvement from the before.

This week I tackled the hall closet that is my cleaning closet. I also decided to keep our seasonal jackets and also our old (for campfires and working outside) jackets in this closet. Previously we didn't really have an official closet for this. I'm really working on getting a better system together for storing and switching out seasonal clothing. The one thing that kind of bugs me is that I wish there was another shelf so that there isn't so much wasted vertical space in this closet. Maybe some day I'll add one myself. I began a bigger organizing project today of going through our daughter's closet, which is absolutely disastrous. Hopefully I'll be done soon and can post about that next week.

Happy Mother's Day to all the moms!

*Linking up to 52 Weeks of Organizing Challenge*

Thursday, April 28, 2011

52 Weeks of Organizing # 17

This week I tackled our top shelf in the master bedroom and the bathroom closet. The goal was to get the linens and towels organized and move the medicines out of the bathroom since medicines shouldn't be stored in the bathroom due to the high humidity.

Before: Top shelf of master bedroom (mostly unorganized linens)...Hmm...I see I need to do some more work in the closet, too!

After: Our winter duvet, memory love boxes, blank greeting cards, and medicines. Our old comforters that we don't use and extra blankets will now be stored under the bed in clear containers.


Before: Bathroom Closet ( some shelves look a little empty because I was washing the towels, which is why I figured it was a good day to organize it!)


Before: Bathroom Closet


After: I even learned the Martha Stewart way of folding a fitted sheet...it took me a few tries. ha ha. Now our extra sheets and pillow cases are on one shelf rather than scattered here and there. Before this, some were in the hall closet & some on the master bedroom shelf. Now, all are on one shelf here in the bathroom.


I have to admit that I'm a little bit disappointed that my bathroom closet doesn't look a bit neater than this, but it seems rolling the towels just works better here as opposed to folding them. Also, we have quite the assortment of mismatched towels! At least everything has its place in there now and I can know where to go if I need to find towels & linens!

*Linking up to the 52 Weeks of Organizing Challenge*

Friday, April 22, 2011

52 Weeks of Organizing - Week 16

Tackling the Toys

If you have kids, you know just how out of control the toys can become. Before organizing these toys, I had the storage ottoman plus a giant wicker basket (not pictured) for the toys, plus free standing larger toys. I decided enough was enough because toys were taking over the living room! There were so many toys that the parts didn't go with the right things, which means the toys weren't even serving their purpose. So, during nap time, I dumped all the toys out and got to work, putting pieces with the right toy and purging toys Ellie has grown out of or ones that were just driving me plain old crazy! The big wicker basket is now storing Ellie's stuffed animals in her room rather than storing the excess toys in the living room. The puzzles are now in a separate container (not in the living room), so that the pieces will actually stay with the right puzzle. A big box was sent downstairs for storage, and a few toys were brought downstairs to play with when we go down there. I was sick of hauling toys up and down the stairs whenever we went down there, so now a few of her bigger toys (play kitchen and bounce & ride turtle) are down there and our living room is less cluttered with toys. Now, all the medium toys fit in the storage ottoman (a $20 purchase from Canadian tire), and a few larger toys are parked neatly in the corner. This is now the toy limit, so when new toys come in, old toys will either go to storage or in the donate pile. The best part? When I sit on the couch, I can't even see the toys when they are put away in the corner! Love that!

*Linking up to 52 Weeks of Organizing*

Friday, April 15, 2011

52 Weeks of Organizing - Week 15

Last week I was on staycation, so I didn't post an organizing project for the challenge. However, that doesn't mean I wasn't busy working on things. In fact, some major progress was made in our disaster-of-a-basement. This past week, I've been working on more of a behind-the-scenes organizing project. It isn't something that is really "noticeable", but it's something I've been wanting to do for a long time - compiling a "love box" for me and my husband's keepsakes. Our keepsakes are badly disorganized. The biggest problem with our keepsakes is that very meaningful keepsakes were mixed up with not-so-meaningful keepsakes. The idea was to go through all my cards, notes, and keepsakes and pull out the ones my husband and I gave to each other and put them in a special memory box. While I did this, I also threw out things that were no longer meaningful. I found these 2 memory boxes for $5 each (regularly priced at $20 each) to serve as our "love boxes," one for my husband and one for me. These boxes only hold items exchanged between me and my husband. The top section holds things from our courting and engagement days and the bottom section from our married days.

**Did you catch a glimpse of our renovations...notice the new baseboard on the left and the old on the right**

Now I know where to look when I'm looking for special keepsakes from my husband. Previously they were scatterered here, there, and everywhere in different boxes. My keepsakes were organized according to year. However, after looking up some ways to organize keepsakes, I think I've decided a better way is to organize according to people, as in all the keepsakes from my parents together in a bundle, all the keepsakes from my children together in a bundle, etc. Then all of those will be stored together in a plastic container. I like that method much better, I think.

One other thing...as I was on the hunt for keepsakes, I found wedding/shower cards with my Christmas decorations...how did that happen??? Now, I have all my wedding keepsakes together in one big plastic storage box. :-D.

Organizing... it's a process.

*linking up to 52 Weeks of Organizing Challenge*

Saturday, April 2, 2011

52 Weeks of Organizing - Week 13

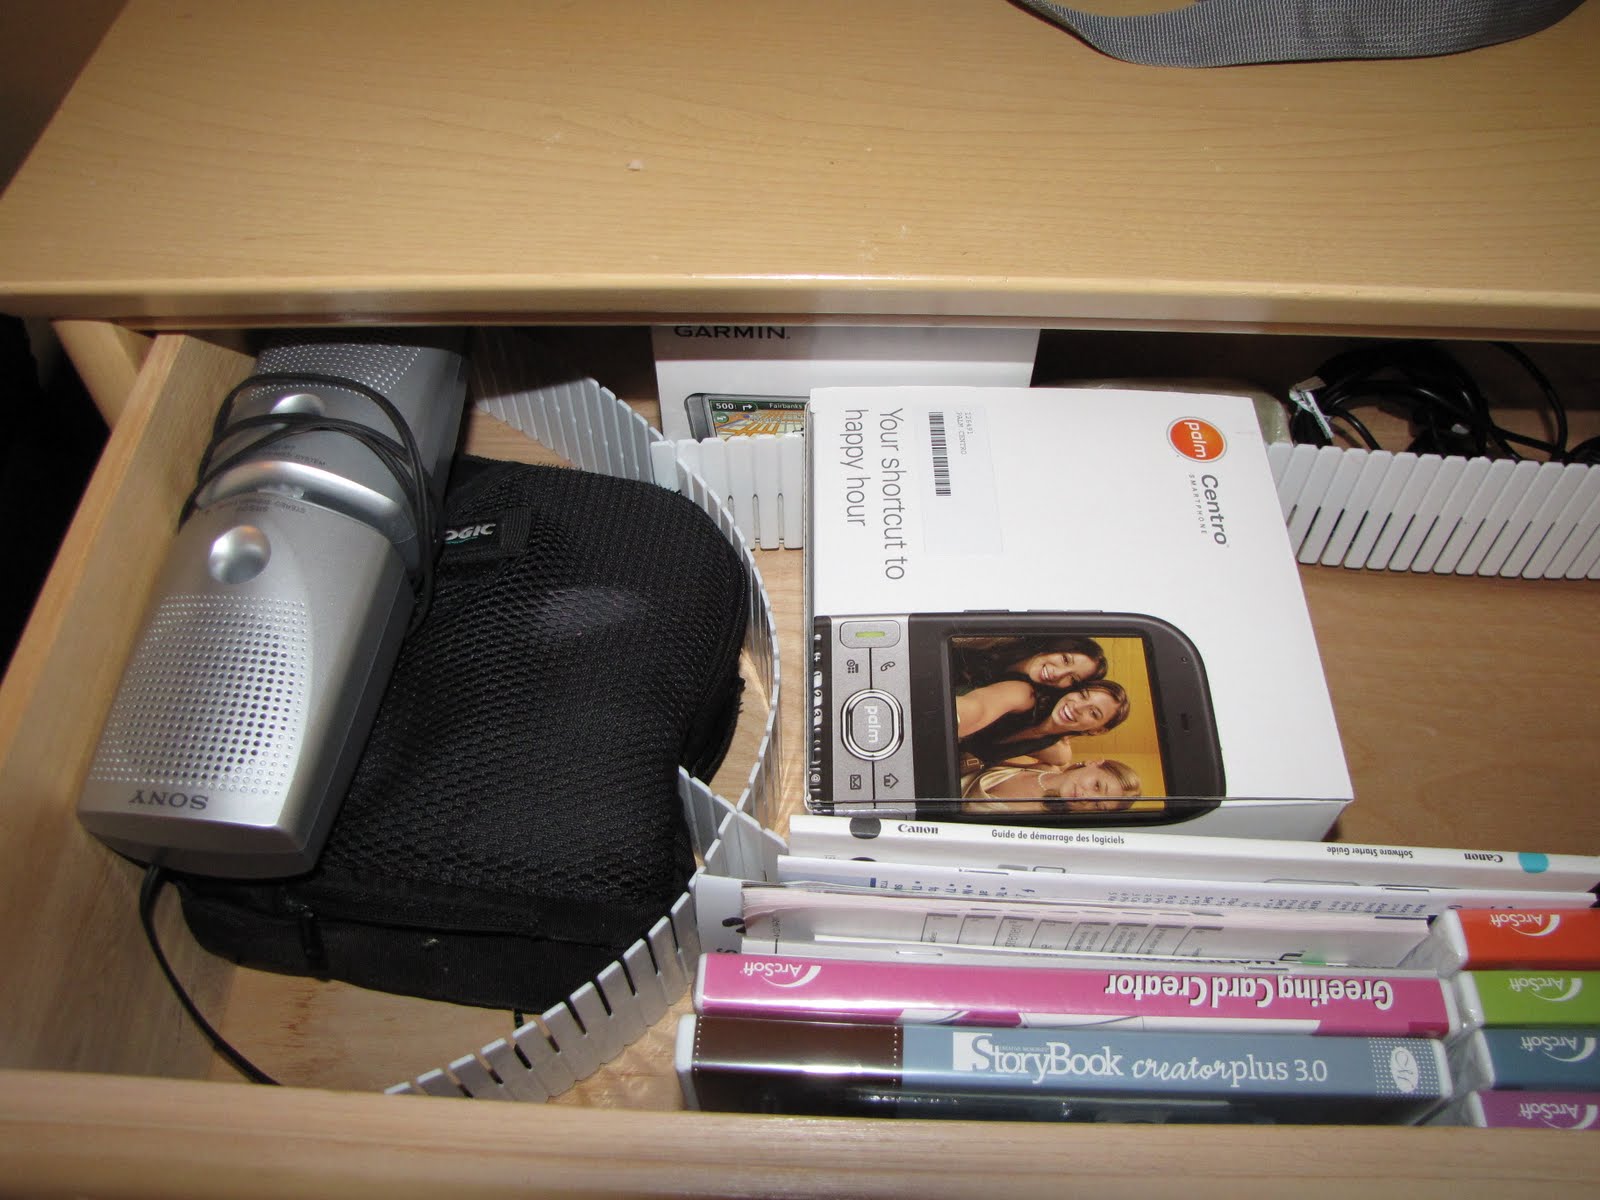
Since I finally finished painting and making over our old dresser, I decided to tackle some drawers. Yikes. They are so unorganized, it is embarrassing. Here are a few of the drawers I got done this week.

Technology Drawer Before:


After: (I used a Dollarama drawer organizer that did not fit properly, but I figured out a way to bend the organizers a bit. Not the prettiest, but it works and things are organized now.


Makeup and Hair Drawer Before:


After: Still does not look the greatest, but it is better than it was. I went through my makeup and threw out ancient stuff I never wear anymore and expired stuff.


*Linking up to 52 Weeks of Organizing Challenge*

Thursday, March 24, 2011

52 Weeks of Organizing - Week 12

Dressers

Nightstand


This week I addressed the mess on our dressers and nightstands...Hmm...deja vu you say? Why yes, I did tackle this in a previous week. Here's the thing about clutter...it has a way of accumulating again if you don't stay on top of it. Please tell me I'm not the only one who has this problem. This is where piles tend to accumulate in our house, and it drives me crazy! When cleaning off our dressers I found three kleenex boxes. THREE! Why are they there? How did they get there? I do not know! I feel so much better now that the clutter is cleared off the surface. Thing is...we still have a problem. It's called junk drawers. Yep, a lot of that stuff ended up in the junk drawers. I hate junk drawers. They are driving me crazy. I could probably handle having 1 or 2 somewhat unorganized junk drawers, but 9 or 10?? Yipes! (and yes, yipes is a word.) I've got a lot of work to do. The good thing is that I'm almost done painting our 9 drawer dresser downstairs which will soon replace the 2 dressers currently in our bedroom. When the exchange happens, I'm determined to conquer junk drawers once and for all! For now, getting rid of surface clutter will have to do. Anyone else have a junk drawer problem like me? I think there is a reason why they call them junk drawers...probably because they contain mostly...junk.

*Linking up to 52 Weeks of Organizing Challenge*

Thursday, March 17, 2011

52 Weeks of Organizing - Week 11


This week I tackled the medicine cabinet/vitamins - Take 2. You may recall that I tackled the medicine cabinet 2 weeks ago. See this post here. However, I was not happy with the arrangement; it just wasn't working for me. So, here I am this week with a new and improved system for organizing all of our medicine, vitamins, and first aid supplies. It is now both organized and out of reach of our little toddler. Everything is also neatly labeled, so it should be easy to find what is needed. Here's how it went down:

1) First, I had a look at what I had and estimated how many containers I needed to buy. I picked up a couple cheap ones at Walmart. I already had most of the medicine organized into groups before this, so that made estimating the number of containers easier.
2) Next, I gathered everything into one place and figured out the best way to group things together.
3) Then, I put them into containers, making sure everything fit nicely and that I was happy with the arrangement.
4) Lastly, I took out my handy labeler and labeled away. This will make retrieval of what we need quick and easy.

Here are how the containers are labeled and organized:

1)Children & Thermometers
2) Pain Relief, Stomach, Heartburn
3) Cough, Cold, Flu, Sore Throat
4) Epipen, Allergy, Asthma, Eye Drops
5) Vitamins
6) Bandaids, Ointments, First Aid

Here are the before pictures: (some are from before I began 2 weeks ago)


Everything in one place, out of reach of children, organized & labeled. So much better!

*Linking up to 52 Weeks of Organizing Challenge here *

Saturday, March 5, 2011

52 Weeks of Organizing - Week 9

This past week I tackled another small project - my medicine cabinet. This week wasn't really about organizing one particular space, however. It was more about gathering all the medicine/vitamin stuff from various places in the house and bringing them together into one place. Keep like things together. Basic Organizing 101. It has always irritated me that we had some meds in the kitchen, some in the medicine cabinet, and then some in the linen closet. We also have a toddler who is now able to pull a chair up to the cupboard all by herself and climb onto the cupboard, or table, or into her high chair (without a chair's help!), etc. This has changed things quite a bit and has forced me to rethink the placement of medicines. Our most commonly used vitamins and meds had previously been in the kitchen on a little shelf in a cupboard. But with Ellie able climb up there now, I didn't feel comfortable keeping them there anymore. It was time to find a new, safer, home. Although the medicine cabinet in the bathroom is far from an ideal spot for meds, for now it will work. I am pretty sure this is only a temporary solution, though. Our less commonly used meds are still in a container in the linen closet. (A locked cabinet high up is a better option). We keep the bathroom door closed, and if it was open, it would be pretty much impossible for her to climb up onto the bathroom counter all by herself at this point. Still, I'm thinking that I might, in the near-ish future, put all the meds in a locked container on the top shelf in the linen closet. Some of you might wonder why I don't just do that right now....I am wondering the same thing. I guess it's because I have to re-think my linen closet space first, and then find the right containers. It's on the to-do list. Therefore, no before/after picture of the medicine cabinet. It would be less than astounding. Here's what I did:

Took all the meds from the kitchen into the bathroom and grouped them according to categories. Yes, we have lots of meds. It's been a rough year :-S

Categories in the medicine cabinet:

Stomach
Pain Meds
Anti-inflammatory
Inhalers/Nose sprays/Eye drops
Vitamins (2 shelves)

Categories in the linen closet container:

Cough drops
Cough/Cold/Flu
Heartburn

We also have a separate container for baby meds.

Because we have vitamins we take every day, I decided to have a pill organizer and keep that .on top of the fridge. The kitchen is more convenient for this. Once a week I'll refill the containers with our vitamins.

There you have it. A less-than-ideal solution for meds/vitamins. When I come up with a better solution, I'll let you know.

As I was typing this post, I headed into the bathroom to scope out the situation again, and I have come to the conclusion that the medicine cabinet idea is definitely temporary. It won't work for me. Nope, not good enough. Mostly because I believe it isn't safe enough. Hmmm...I guess this week's project was kind of a fail then? Well, not exactly. At least I have things grouped together now!

If you have a good solution for meds/vitamins storage, please let me know in the comments!

*Linking up to the Organizing Challenge here *

Saturday, February 19, 2011

52 Weeks of Organizing - Week 6

Last week I was m.i.a. for the challenge, but I'm back this week. Nothing too crazy. Just my freezers. We are getting a bunch of meat soon, so I had to make room. I had tried to follow a freezer inventory awhile back, but I never really kept it up properly. After cleaning out my freezers and discovering things I had no idea were in there and having to throw out forgotten food, I now realize that taking the 5 seconds to mark off my paper when things are used up or when things go in my freezer can save me money by helping me waste less. This is just one thing I love about this organizing process - saving money! Plus, with my organized freezers (we have 3), we will no longer have to play the annoying game, "Which freezer is the ______in?" I think my husband will especially like this :-)

I just used this simple freezer inventory list here.

The before and after pictures would not be nearly as exciting as my closet before/after pictures,
so I don't have any pictures this time. Regardless of a lack of dramatic, noticeable results, as long as I keep up with my new inventory lists, my main goal for organizing this space has been accomplished: a place for everything, and everything in its place.

*linking up to 52 Weeks of Organizing Challenge*

Friday, February 4, 2011

52 Weeks of Organizing - Week 4

Wow. I am SO embarrassed. I have no idea why I'm even posting these before pictures. I suppose it's so I can keep it real with you all. The only reasonable excuse I have for why I allowed my closet to look like this is that during renovations we had to empty a bookshelf and all its contents got dumped on my closet floor. Uhh...yeah...that accounts for maybe 1/10th of the problem. As you can imagine, this week's organizing project was not a super fast process. Here's how it went down.

Prepare yourself....


Before: (it's okay if you gasped...or screamed...I know it's shocking and scary. Believe me, every time I ventured to retrieve something from out of there (you can imagine what a task that was) I was shocked and scared.)


In the process....after everything was taken off of the closet floor (I hadn't even touched the shelves or hangers at this point)


Tackling the floor took me a couple hours the first day.

Then, tackling the rest of the closet took me a couple hours the next day. After going through my clothes, I had one bag to giveaway.


After! (I can breathe again!)

Close up of after


I kind of got stuck in a rut when I tried tackling the shelves and hangers. I knew it was time to say goodbye to some of my clothes again, but for some reason I always have such a hard time letting go. I was definitely not accomplishing much for awhile, and I had to step back from the situation, evaluate what I was trying to accomplish (a clutter-free closet containing things I use/wear), and then be ruthless. If it looked terrible on me or I hadn't worn in in a year, it was time to say goodbye. It helped to think that I was blessed to have an abundance to pass onto someone in need. It certainly wasn't helping me or anyone else to have a cluttered closet full of clothes I didn't wear or like.

I am seriously loving this 52 Weeks of Organizing Challenge. Linking up to this week's challenge here.

Saturday, January 29, 2011

52 Weeks of Organizing - Week 4

This week we were challenged to focus on tackling piles. One place that always attracts piles is the top of our dressers. This picture shows it on an especially bad day. It's usually not quite this messy, but I was prepping to paint the room, so it collected more stuff than usual.

Here are the dressers before (I'm so embarrassed of the mess!):


Here they are after: (After I painted, rearranged furniture, and cleaned off the dressers)


* I'm linking up to 52 Weeks of Organizing Challenge*

Thursday, January 20, 2011

Week 3 Organizing Challenge


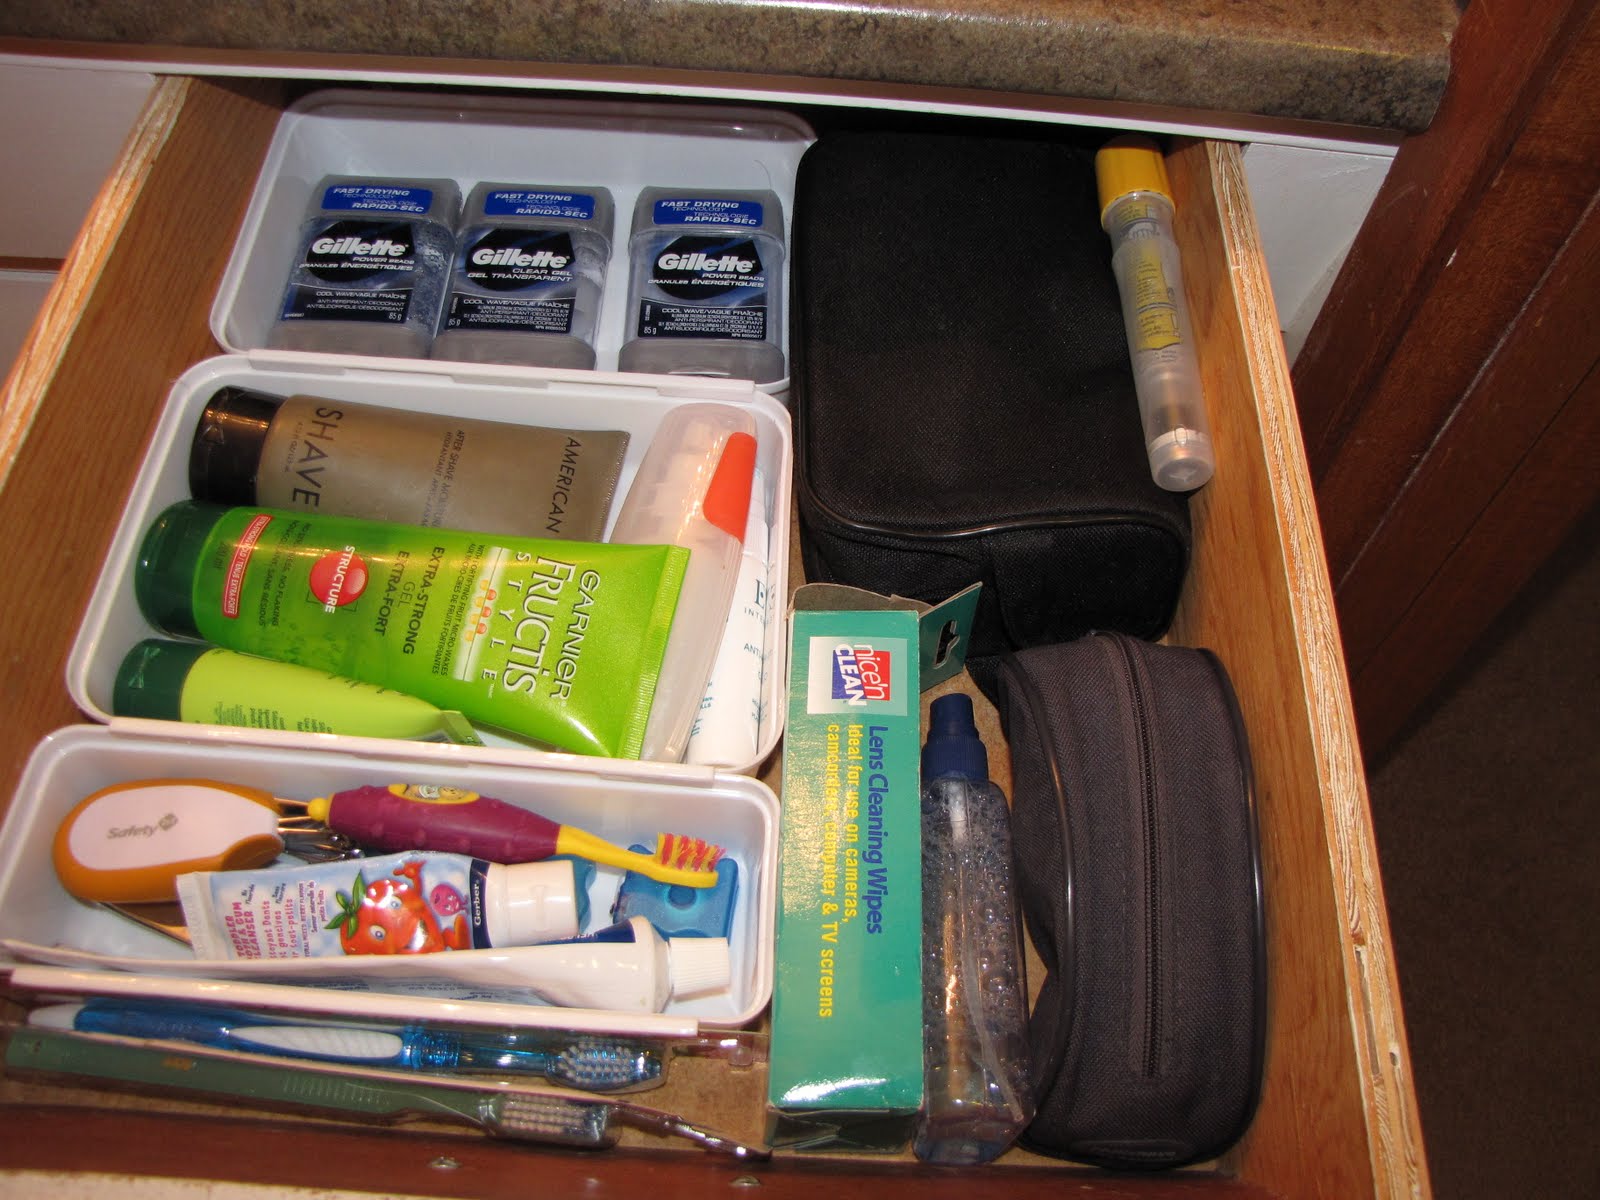
I almost caved and gave up this week on tackling an organizing project. However, I convinced myself to tackle just one drawer. Just one. It might seem like no big deal, but I now have one more organized drawer than I did last week:-). Sometimes that's how it happens: one drawer, one shelf, one cupboard at a time. This is the drawer in our main bathroom. It was a complete disaster, with everything just thrown in there. I put things back where they belong (some things belonged in the garbage!) and then used dollar store containers to try to make sense of things. When my husband came to bed last night, he said, "I see you got lots of organizing done today!" I was so happy he noticed! Crazy thing is it only took me about 15-20 minutes to complete this drawer...it was starting that was the hard part.

Before: (No wonder I could never find the finger nail clippers!)


After:

Now everything is visible and easy to find. Each item has a home, and I know this will save me time (no more rummaging around for 15 minutes to find the finger nail clippers) and money (no more running out to the store to buy another pair of finger nail clippers when, after rummaging for 15 minutes, I still can't find the clippers!). It will also save me a lot of frustration, which is worth a lot in my books!

*I'm linking up to the 52 Weeks of Organizing Challenge hosted here by orgjunkie.com*

Sunday, January 16, 2011

Week 2 Organizing Challenge

Week 2 of the Organizing Challenge - I tacked my pantry and lazy susans. Last week I tackled a small project - my cookbooks. This week I was a bit more ambitious, and tackled my entire pantry, my 2 lazy susans, and a couple other kitchen cupboards. My goal was to make my kitchen more efficient, more organized (a place for everything and everything in it's place), and neater-looking. About 1/3 of my cupboards were working pretty well for me and looking neat and clutter-free, so I didn't have to revamp everything. However, the other 2/3, especially the pantry and lazy susans, needed major help. I did lots of rearranging and removing (some things went to the garage sale/giveaway pile). Then I got out my new organizing b.f.f., my label maker, and went label-happy in the pantry! I'll let the pictures and captions do the rest of the talking.

Pantry Before (Pretty messy! It drove me crazy going in there because it was such a mess. Note - if it drives you crazy...change it or accept it, but whatever you do...don't let it drive you crazy! My food storage containers and wrap were unorganized and messy. I ended up moving plastic wrap, aluminum foil, etc. to a lazy susan cupboard as I was always annoyed with constantly opening the bifold door leading to the pantry to get the plastic wrap and items for making my husband's lunch. The things I use for making his lunch and all our snack foods, crackers, etc. are now stored in a lazy susan, which is WAY more efficient for me. There was also way too much stuff on the floor, which made the pantry looked crammed and messy.)
Way too cluttered. I especially didn't like having so much stuff on the floor.


Pantry After (Floor is clutter-free. The top shelf holds dry good and rice. The second shelf holds my food storage containers. My parents bought me some containers with easy-find lids (they were on a great sale), which I love! They all match and fit so nicely together. They look SO much neater and make me smile when I look at them :-). One shelf now holds pasta, oils, dressing, which used to be stored in a lazy susan. The shelf underneath it holds baking items, canned fruit, canned vegetables, canned beans)


The third shelf holds baby food, canned fish, canned soup, and canned tomato goods. The fourth shelf holds pasta, dried beans, oils, and dressings (these were formerly stored in a lazy susan). The fifth shelf holds baking items, canned fruit, canned vegetables, and canned beans. The containers help keep my miscellaneous/extra items together in a neat, consolidated form. This is after the shelves were organized, but before I was able to get the shelves labeled. The floor holds my flour, distilled water for our daughter, and white vinegar for cleaning. All the other clutter on the floor is gone to a new home!


The floor is now clutter-free.


Here you can see that my shelves are now labeled to help keep things in their place.


Lazy Susan #1 Before (used to hold pasta, oils, and some kitchen gadgets. It was in disarray and very messy.)


Lazy Susan #1 After (All the pasta, rice, oils, dressings, etc. got moved to the pantry. The snack and lunch items got moved from the pantry floor to the lazy susan. It's organized now in a way that makes sense, and it looks much neater. I'm very happy with the change!)

Lazy Susan #2 Before (The top shelf and bottom underneath storage worked for me, but the second shelf just held stuff I hardly ever use and was taking up prime shelf space.)


Lazy Susan #2 After (Top shelf holds mixing bowls and salad spinners. Second shelf holds plastic wrap, aluminum foil, parchment paper, plastic bags, etc, which used to be stored in the pantry. After using this new system for a few days, I can definitely say this is working much better for me.


So far, this is working much better for me! It's more efficient, neater, and more organized! I think the biggest thing I learned this week was what I stated before. If it drives you crazy, accept it or change it...but whatever you do...don't let it drive you crazy! I have a few other spaces that are currently "driving me crazy." I'm going to change that soon...I'd rather not go crazy ;-)

*I'm linking up to Organizing Junkie's 52 Weeks of Organizing Challenge*

Related Posts Plugin for WordPress, Blogger...