


Pita Bread
Ingredients:
1 cup warm water
1 tbsp oil
2 tsp sugar
1 tsp salt
3 cups flour
1 1/2 tsp yeast
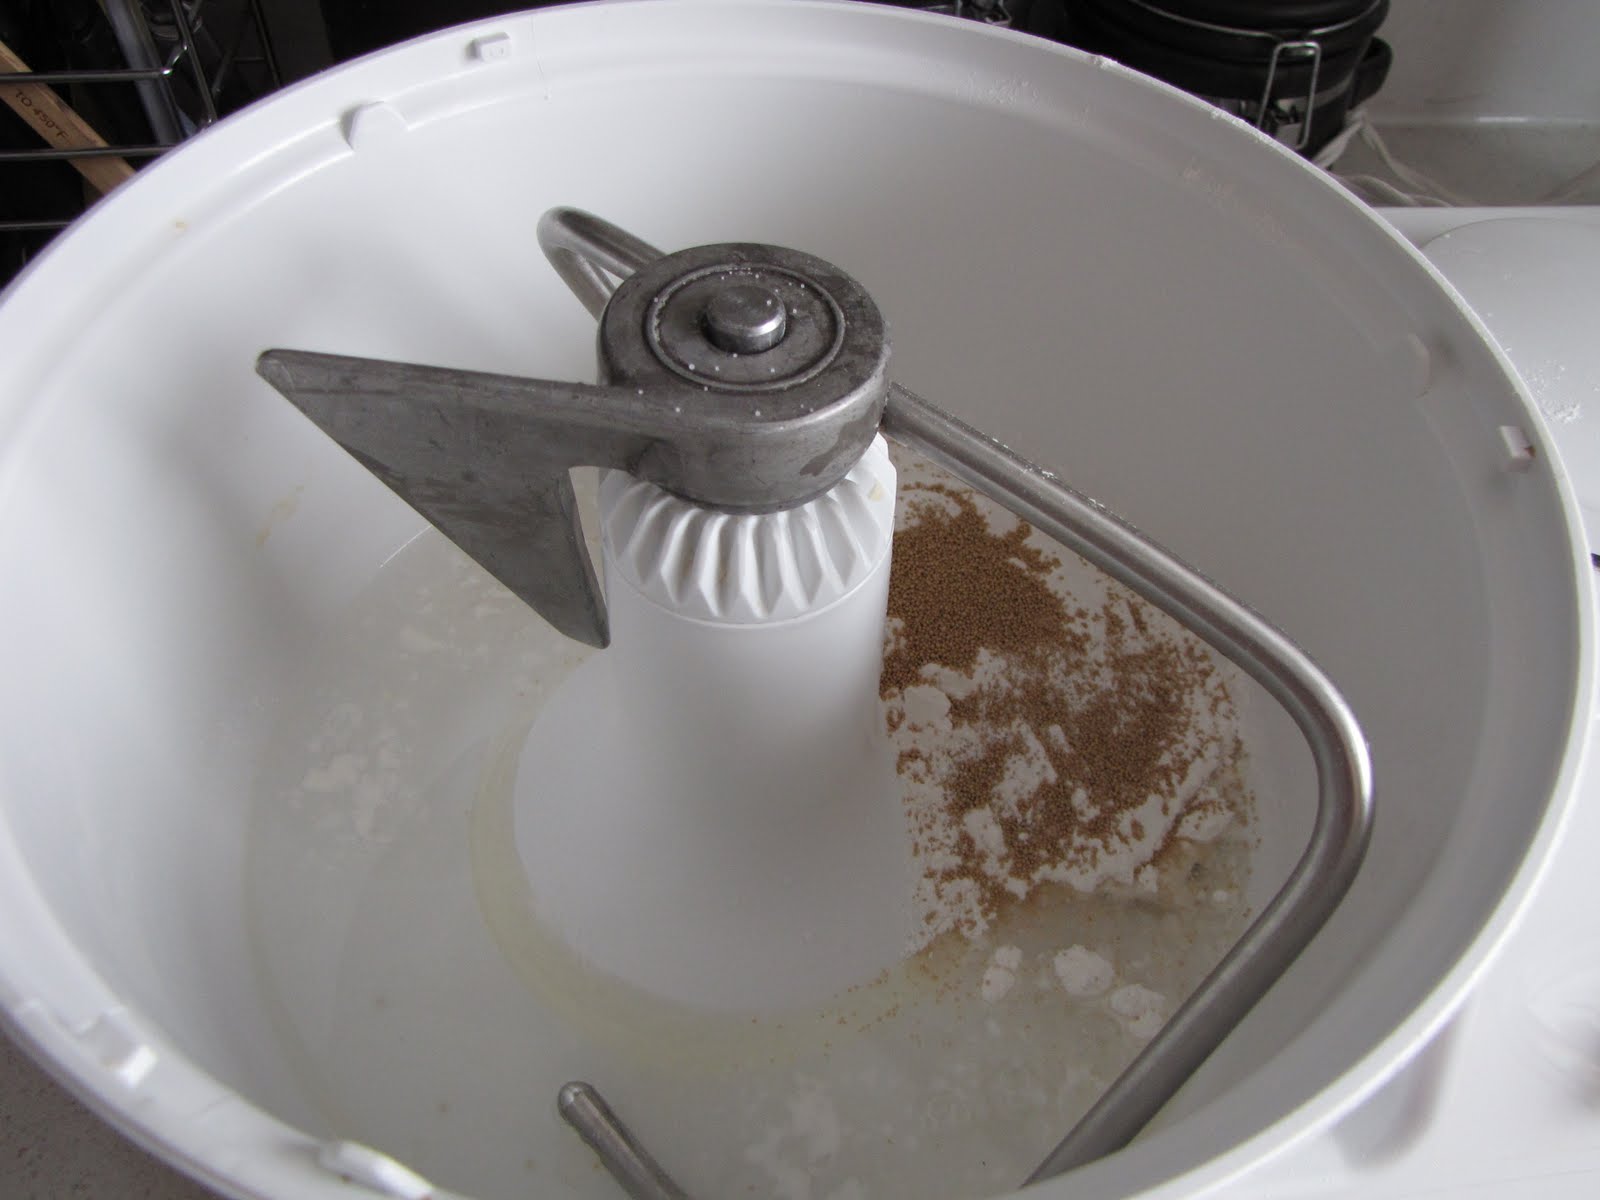
Step 1: Combine 1 cup warm water, 1 Tbsp oil, 1 tsp salt, and 2 tsp of sugar in a large bowl (I use my Bosch).

Step 2: Add 1 cup flour (use white or whole wheat) and 1 1/2 tsp yeast and mix.
Step 3: Slowly add an additional 2 cups (approximately) of flour and knead for a few minutes to make a soft dough. You may need slightly less or more flour to make a soft dough. It should look something like this. I used a little too much flour this time.
 Step 4: Place into an oiled bowl, lightly oil the top, cover with plastic wrap and a tea towel. Let rise for about an hour (until almost doubled). I always let my breads rise in the oven with the oven light on.
 Step 5: Punch dough down and then divide into 6-8 equal portions.
 Step 6: On a lightly floured surface, roll each section out into a fairly thin circle about 6 inches wide. Then, lightly cover the rolled out circles with a tea towel and let rise for another 30 minutes or until slightly puffy.
 This is what my pitas look like after I've let them rise the second time. You can see they don't rise very much. They are only slightly puffed up.
 Step 7: Place on a wire rack (you can probably use one like you use for cooling things. I use one that is for bacon, I think) and bake 2 at a time in 500 F oven for only about 4-5 minutes just until they start to lightly brown. Watch them very closely. You don't want them to overbake or they won't be pliable. You can turn them half way through, but you don't have to. I usually don't.
 Step 8: Immediately wrap the pitas in a damp tea towel. This will help them be soft and pliable. Here's what one of mine looked like after it came out of the oven.
You can keep these on the counter for a few days, or keep them a bit longer in the fridge. Or, you can freeze them, which is what I do if I'm making them ahead of time. Just warm them up a bit before using to make them more pliable. There are many uses for pita bread. Here are just a few ways we use it:
- Cut in half, carefully open up to create a pita pocket and fill with your favourite sandwich fillings. We like Sweet & Tangy BBQ Chicken & Coleslaw pitas.
- Use the flatbread to make individual pizzas. Just spread pizza sauce and then add your favourite toppings on top. Bake at 400 F or so for about 8 minutes until cheese is melted. Check out the pita chip link below to see a picture of our flatbread pizzas.
- Cut each pita into wedges and make homemade baked pita chips like we did here. Serve them with hummus.
*Linking up to Raising Homemakers*


1 comment:
I "finally" made these yesterday!!! And they are delicious. I made 2 dozen, and I found it was an amazingly quick & easy process. We enjoyed them this morning, with scrambled eggs, cheese, and veggies in them. Thanks for the recipe.
Post a Comment